

First-run wizard
The one-time setup of your organisation: name it, connect Amazon Bedrock, optionally connect SharePoint, and finish.
A freshly deployed portal has no organisation yet. The first person to register and finish the wizard creates it and becomes its Org Owner. You do this once per deployment: each deployment holds exactly one organisation.
Before you start
- The portal address from your ECV delivery team.
- An Amazon Bedrock API key from the AWS account the portal runs in (or the deployment allows the server’s own AWS role).
- If people will sign in with Entra ID or Okta: the sign-in application values from Connect Entra ID or Connect Okta.
Register and sign in
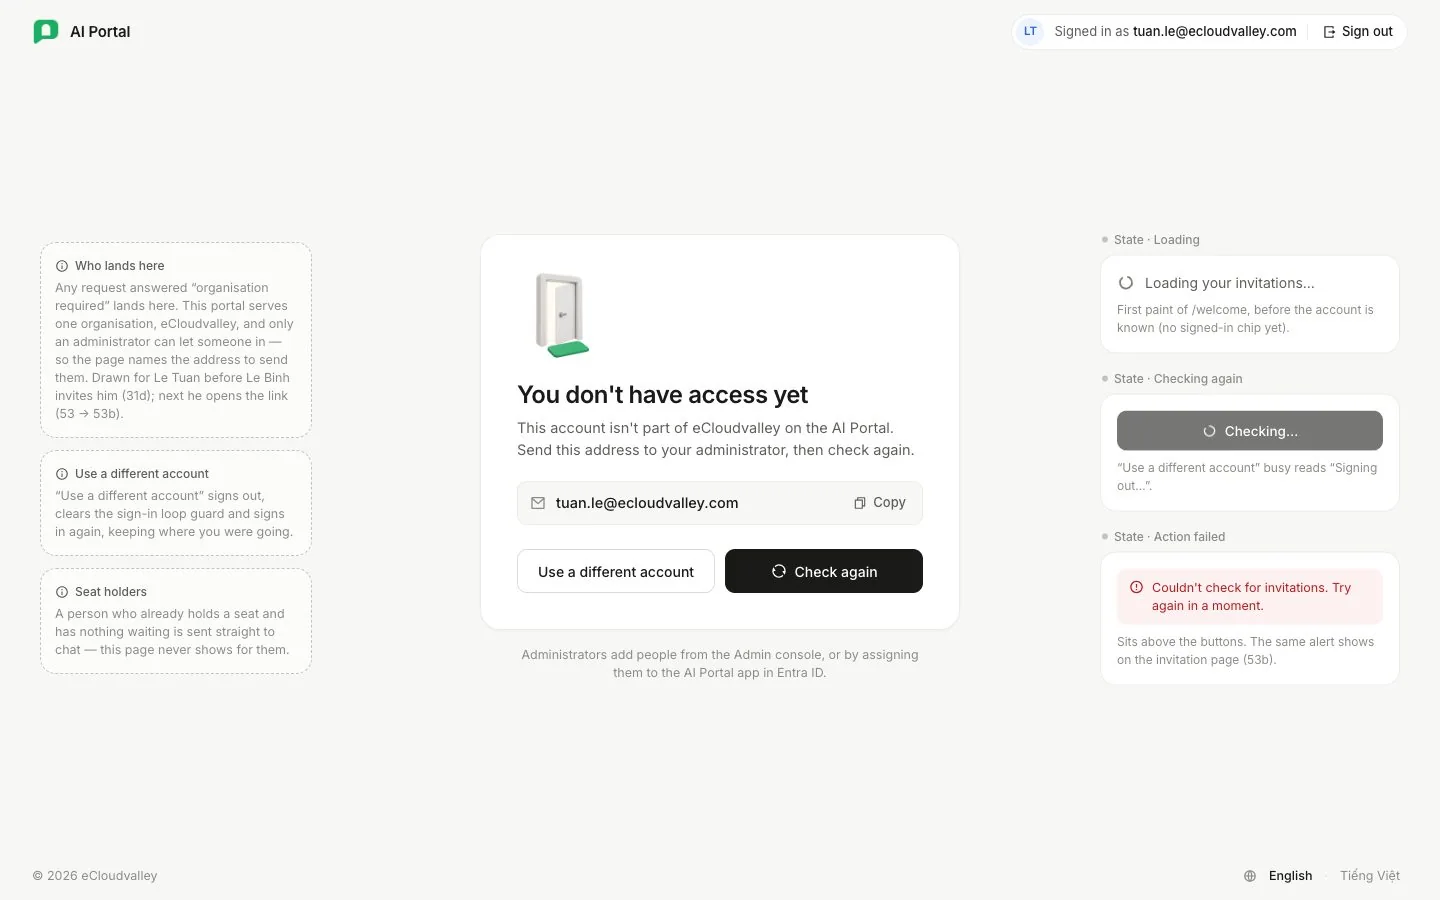
Sign up on the sign-in screen opens Create a new account: email, password twice, first name and last name. Register creates the account and signs you in. An account with no seat and no invitation goes straight into the wizard. If invitations are waiting for your address, the welcome screen lists them first, with Set up your own organisation below them.
The wizard’s left column names its four steps: Organisation, Models, Documents and Finish.
-
Organisation
The first panel shows the address you signed in with, as the owner to be. Nothing is written until the last button of this step.
Field Rule Name Shown across the portal; you can change it later Organisation ID Lowercase letters, digits and dashes. It becomes part of the addresses your identity provider talks to, so it can never change AWS region Where model calls and tool runtimes run and are billed Who manages your people Permanent. This portal: accounts live here and you add and remove people yourself. Entra ID, Okta or another provider: the provider decides who exists Choosing a provider adds a second panel for the values you collected there, with the redirect URI to register at the provider first. Both panels submit together, so you can go back and change the provider before anything is created.
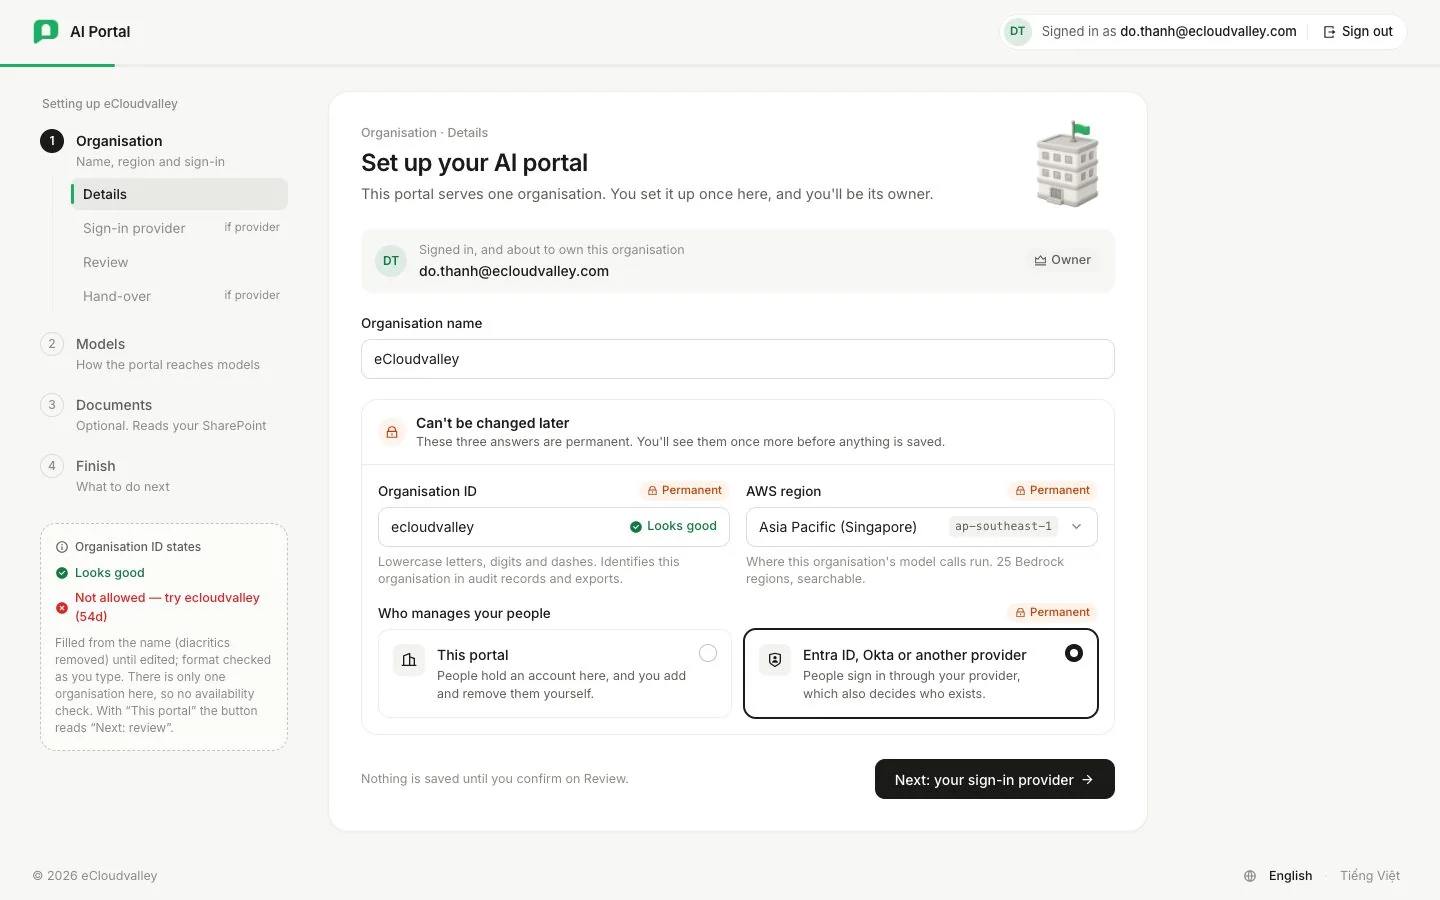
Organisation details. -
Hand over to your provider
For Entra ID or Okta, the next panel shows the provisioning address your provider pushes the directory to, and issues the credential it accepts. Copy both before leaving: the secret is shown once.
-
Models
A new catalogue is empty, so nothing can answer a message yet. Paste a Bedrock API key and choose Save and continue. The key is stored encrypted and never shown again.
- Use EC2 IAM role appears when the deployment allows it: the portal signs Bedrock calls with the host’s role instead of a key.
- Skip for now moves on without a key. Add it later under Models; nobody can chat until it is there.
No model is added to the catalogue here. You pick the approved models afterwards.
-
Documents (optional)
Let the portal read your SharePoint reuses the Entra application people sign in through. Check Directory (tenant) ID, Application (client) ID and Client secret (filled in from the provider panel if you used Entra ID), then Connect and finish. The portal checks the secret with Microsoft before storing it. Or choose Skip for now and do it later under Tools.
Sites are granted at Microsoft afterwards and added under Tools; see SharePoint setup.
-
Finish
You land as Org Owner with one department,
General, and five custom roles (Department Lead, Cost Analyst, Compliance Reviewer, Knowledge Curator, Agent Curator) attached to no group.
What “who manages your people” freezes
Once a provider owns the directory, the console hides the directory writes in the left column. Withdrawing an invitation stays possible either way.
| The provider owns | Stays yours either way |
|---|---|
| Creating a person | Budgets |
| Moving somebody between departments | Which models a department may use |
| Creating a group | Roles |
| Adding or removing a group member | Resource visibility |
| Bulk assigning from a group | Suspending somebody |
| Issuing or resending an invitation | The department lifecycle |
No screen changes this later. Choosing wrongly means a new deployment.
Next steps
- Add models and assign the two portal jobs: Models.
- Create departments and set what each may spend: Departments, Budgets & limits.
- Invite people one at a time, or turn provisioning on and let the provider push them in.